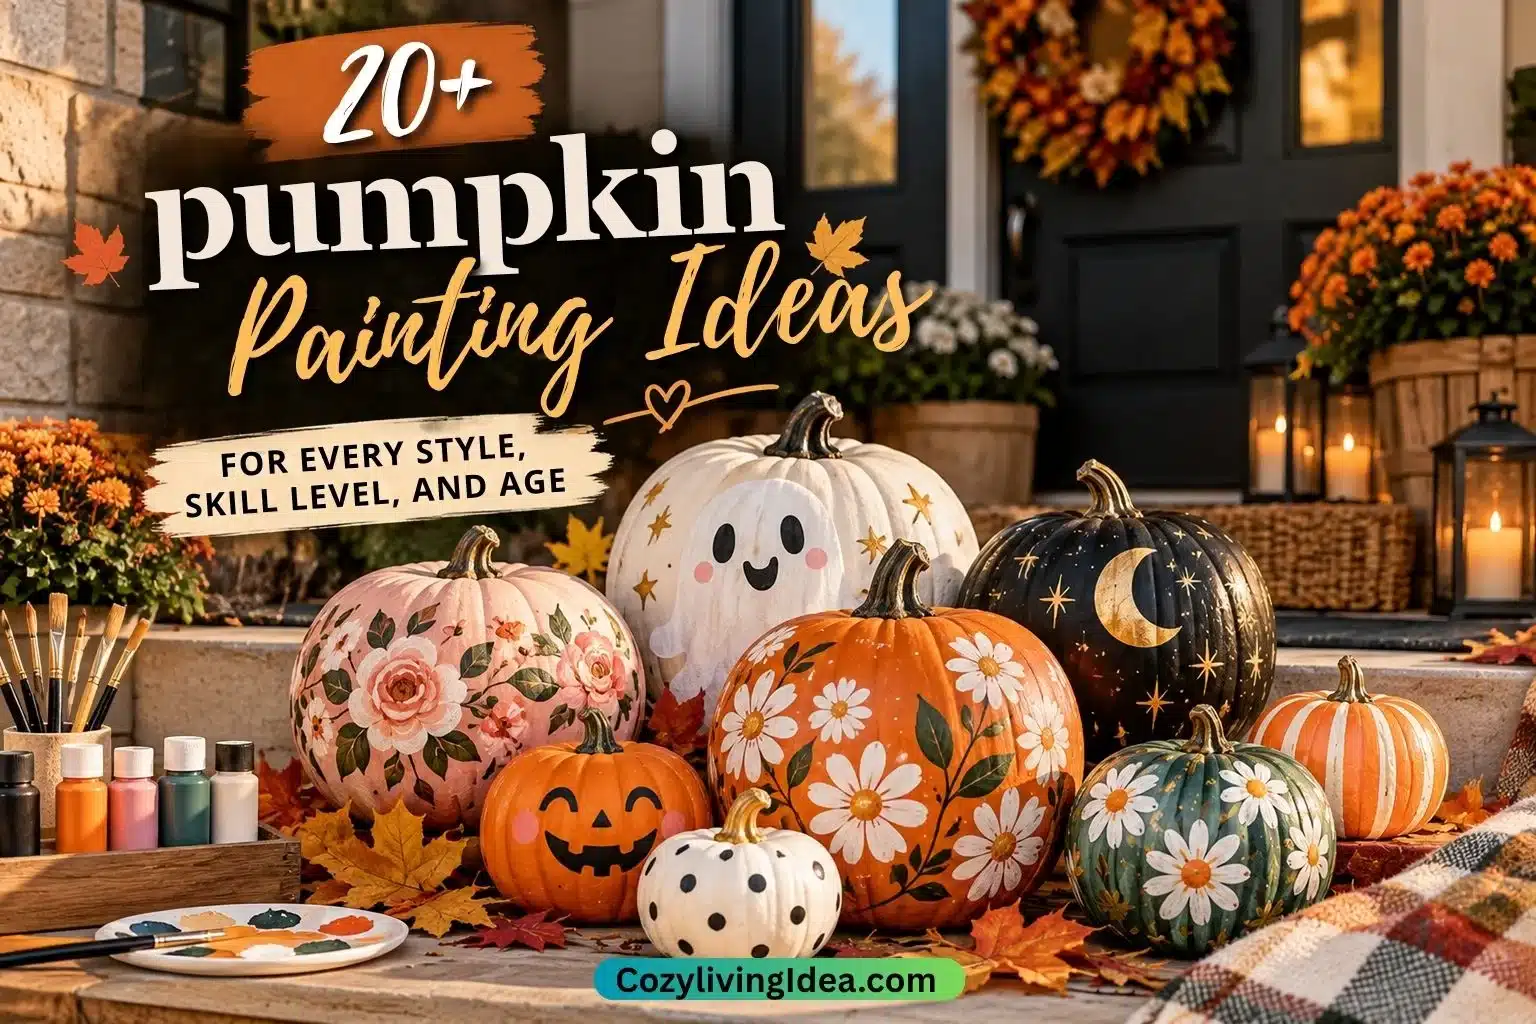
20+ Top Pumpkin Painting Ideas for Every Style, Skill Level, and Age
Carving a pumpkin is fun for about the first ten minutes, and then you’re elbow-deep in stringy pulp trying to keep a knife steady on a curved surface. Pumpkin painting skips all of that. No sharp tools, no mess to scoop out, and no pumpkin that collapses into mush after four days on the porch. You just need paint, a plan, and a little patience while things dry.
This guide isn’t another scroll-and-forget gallery of pretty photos. It walks through the actual pumpkin painting ideas worth trying, sorted by who’s painting and what look they’re going for, plus the prep and sealing steps that decide whether your design lasts through Halloween or peels off by the second week of October.
The easiest wins are a solid base coat in one bold color, simple painted faces (happy, silly, or spooky), and stripes or dots — all doable in under an hour with basic acrylic craft paint. For anything more detailed (skulls, characters, galaxy effects), sketch your design in pencil first, seal the pumpkin before and after painting, and let each layer dry fully before adding the next.
Why Paint a Pumpkin Instead of Carving It?
Painting keeps the pumpkin’s skin intact, so it generally lasts longer than a carved pumpkin and avoids the cutting and scooping involved in traditional jack-o’-lanterns. It is also easier to adapt for children and for detailed designs that would be difficult to carve.
If you’re deciding between paint and carving, our Pumpkin Carving Ideas guide covers traditional carved designs and printable stencil options.
A whole, undamaged pumpkin can remain usable for weeks or longer under favorable cool, dry conditions, but outdoor weather, bruising, moisture and the pumpkin’s condition at purchase all affect its lifespan. Painting should be treated as a no-carve decorating method, not as a guarantee that a real pumpkin will stay fresh for months.
If children are painting, choose art materials intended for their age group and read the product label before starting. The Art & Creative Materials Institute recommends looking for its AP (Approved Product) Seal for art materials used by younger children, which indicates that the product has undergone toxicological evaluation and is labeled according to applicable art-material safety standards.
What You Need Before You Pick Up a Brush
Every list of pumpkin painting ideas glosses over this part, and it’s the part that determines whether your pumpkin looks good in a photo or actually survives sitting outside for a month.
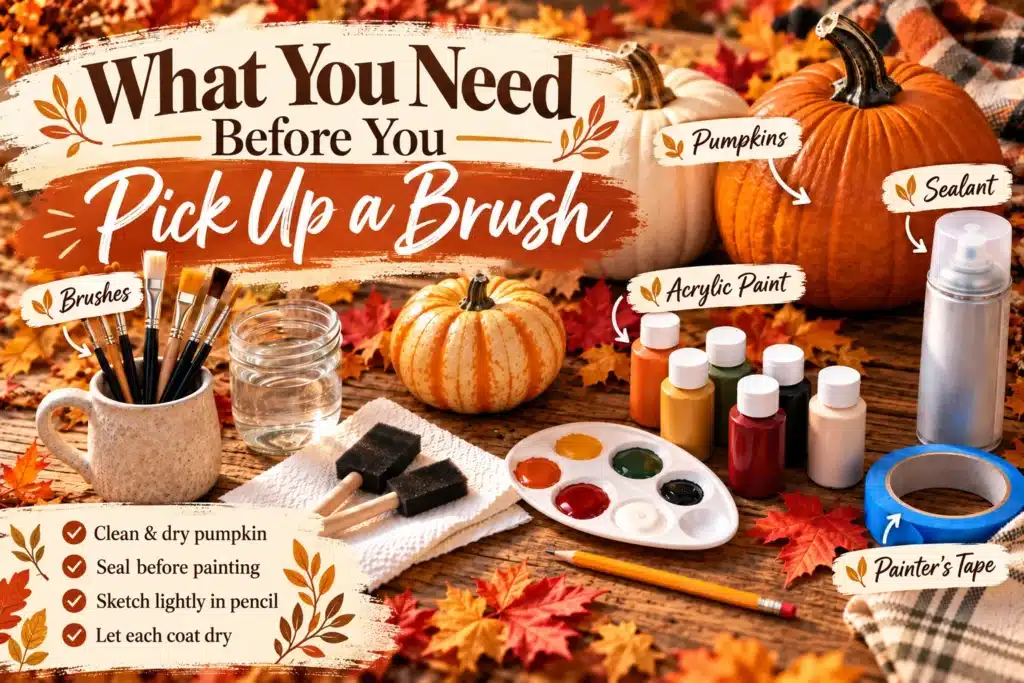
Choose your paint on purpose, not by what’s already in the drawer. Acrylic craft paint is the standard choice for most pumpkin painting because it’s water-based, dries in about 15 minutes per coat, and holds color well once sealed. Tempera paint works fine for a quick kids’ project, but it’s less durable and won’t hold up outdoors for more than a few days. If you want a smooth, even base coat over a large area, For a smoother large-area base coat, use a wide soft brush or foam applicator and build coverage in thin layers rather than applying one heavy coat.
Use a clear topcoat only when the paint or display conditions call for it. Some craft paints can be used directly on a clean, dry pumpkin, while others may benefit from a compatible clear finish for added resistance to scuffs or light moisture. Follow the paint and topcoat manufacturer’s instructions rather than assuming every pumpkin needs to be sealed before and after painting. A coating can protect the painted surface, but it does not stop the natural pumpkin underneath from aging.
Clean and dry the surface first. Wipe away visible dirt with clean water and a cloth, then let the pumpkin dry thoroughly before painting. Avoid soaking it, and if you may later use the pumpkin for food, do not wash it with household bleach, soap or detergent.
Pick the right pumpkin for the job. A white or pale pumpkin is a better canvas for pastel or light-colored designs, since dark orange will bleed through thin paint. A smooth-skinned, ridge-light pumpkin is easier for detailed designs like faces or lettering; a heavily ridged one is better suited to simple, bold color-blocking where the texture adds character instead of getting in the way.
Paint one section of the pumpkin at a time and let it dry before rotating to the next. It keeps your hand from smudging finished areas and gives curved surfaces time to dry evenly instead of pooling paint at the base.
Easy Pumpkin Painting Ideas (Perfect If You’ve Never Done This Before)
These are the pumpkin painting ideas easy enough to finish start-to-finish in one sitting, with no drawing skill required.
- ✓
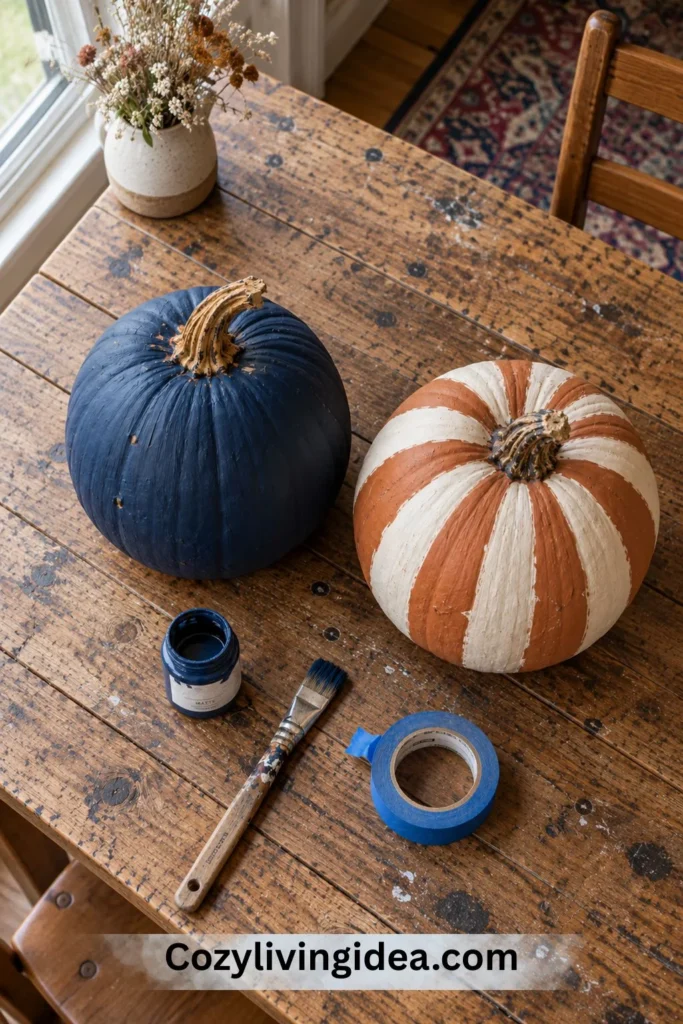
Solid color block. One bold color, two coats, done. Navy, black, or white all look intentional and modern rather than “unfinished,” and it’s the fastest way to get a whole batch ready for a porch display.
- ✓
Painted stripes. Use painter’s tape to mask off even stripes before filling them in — the tape does the precision work for you, so the result looks clean even on a first attempt.
- ✓
Polka dots. Dip the end of a pencil eraser or a small dowel into paint and stamp dots across the surface. It’s forgiving, kid-friendly, and looks deliberate even when the spacing isn’t perfectly even.
- ✓
Ombre fade. Blend two shades of the same color family (light-to-dark orange, or cream-to-rust) by working wet paint together at the seam. It reads as more advanced than it actually is.
- ✓
Simple happy face. Two dot eyes and a curved-line smile in black paint over a solid base. It’s the fastest way to get a classic jack-o’-lantern look without a single cut.
Sketch any design in pencil directly on the pumpkin before you paint. Pencil wipes off a dry pumpkin surface easily if you change your mind, so there’s no pressure to get it right the first time.
Cute Pumpkin Painting Ideas
Cute pumpkin painting ideas tend to lean into rounder shapes, pastel colors, and characters rather than anything with an edge to it — these are the ones that photograph well on a mantel or a kids’ table.
- ✓
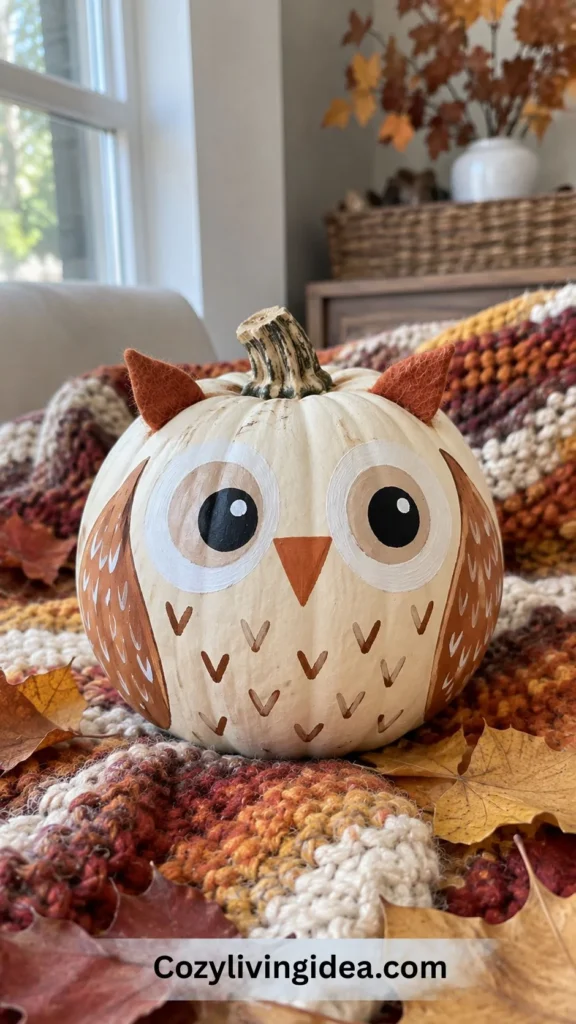
Painted animal faces. A white pumpkin becomes an owl, cat, or bunny with just a few painted features — ears added with felt or a hot-glued paper cutout finish the look without any carving.
- ✓
Conversation-heart pumpkin. Pastel base coat with a short word or symbol painted in the center, playing on the classic candy-heart look. It’s an easy crossover between Halloween and fall décor that doesn’t feel too spooky for a family room.
- ✓
Floral pumpkins. Small painted flowers in soft pinks, creams, and sage green over a white or cream pumpkin. This one leans more “autumn centerpiece” than “Halloween prop,” which makes it a good pick if you want pumpkins that work from September through Thanksgiving.
- ✓
Googly-eye monsters. Glue on oversized googly eyes and paint a simple mouth. It’s silly rather than scary, and it’s one of the fastest wins for younger kids who want to feel like they made something.
For more projects that don’t require carving a pumpkin, explore our Halloween Crafts guide for additional paper and family-friendly seasonal ideas.
Mini and Small Pumpkin Painting Ideas
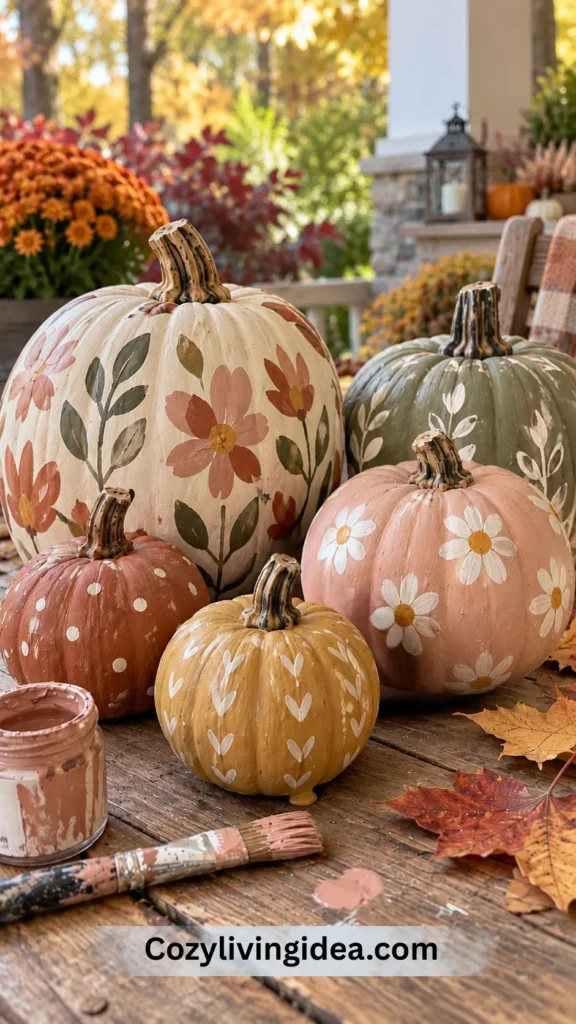
Mini pumpkins and small pumpkin painting ideas are worth calling out separately because the smaller surface changes what actually works. Fine detail gets lost fast on a mini pumpkin, so bold, simple choices read better than anything intricate.
- ✓
Single-color mini sets. Paint a cluster of mini pumpkins in a coordinated palette (blush, terracotta, cream) and group them in a bowl or down the center of a table. The repetition does the visual work — no single pumpkin needs to be detailed.
- ✓
Metallic mini pumpkins. Gold, copper, or silver paint on white mini pumpkins gives a dressed-up, non-traditional look that works as a place-card holder or a small gift.
- ✓
Mini pumpkin word art. A single letter or short word painted on each mini pumpkin, lined up to spell something across a mantel or table runner.
- ✓
Two-tone dip effect. Dip the bottom third of a mini pumpkin in one color and leave the top natural, or paint the top in a contrasting shade — it mimics a dipped-candle look with almost no skill required.
If these painted pumpkins are going outside, our Fall Porch Decorating Ideas guide shows how to combine pumpkins with planters, lanterns and other seasonal elements.
Pumpkin Painting Ideas for Adults
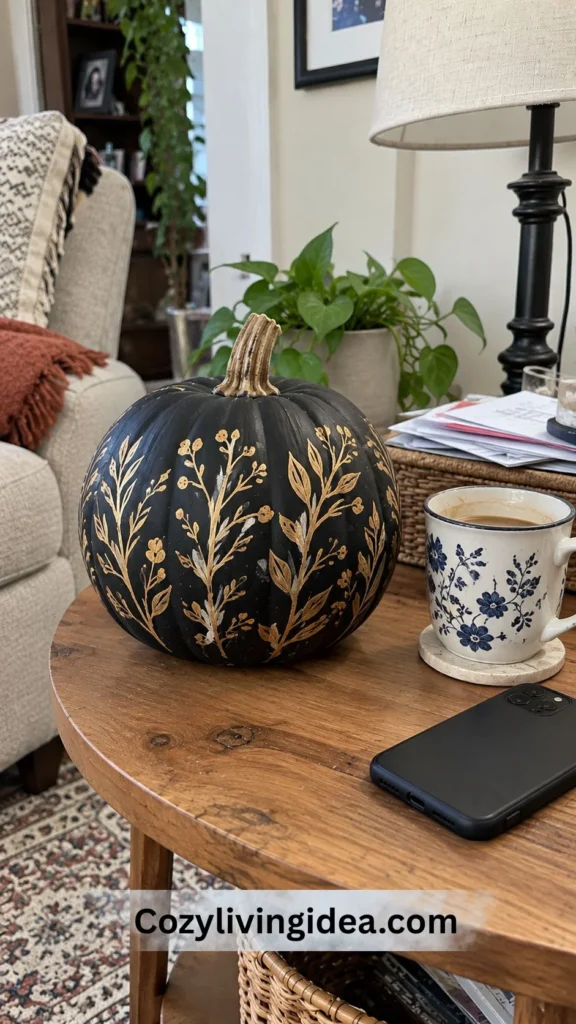
Pumpkin painting ideas for adults generally trade the primary-color cheerfulness of kid-friendly designs for more restrained palettes, finer detail, or a technique that takes a bit more patience to pull off.
- ✓
Marbled or geometric pumpkins. Painter’s tape creates crisp geometric sections, or a marbling technique (dropping paint into water and rolling the pumpkin through it) gives a one-of-a-kind pattern with almost no freehand skill needed.
- ✓
Botanical line art. Fine-line black or gold paint pens sketched into delicate branch or leaf outlines over a matte white or black base. It reads as intentional home décor rather than a seasonal craft.
- ✓
Monochrome sophisticated palettes. All-black, all-white, or deep charcoal pumpkins with subtle texture (a matte-on-gloss finish, or a light dry-brush technique) look more like a design object than a Halloween decoration.
- ✓
Metallic drip effect. A base coat in a deep jewel tone (emerald, plum, navy) with gold paint drizzled and allowed to drip naturally down the sides before it fully sets.
Funny Pumpkin Painting Ideas
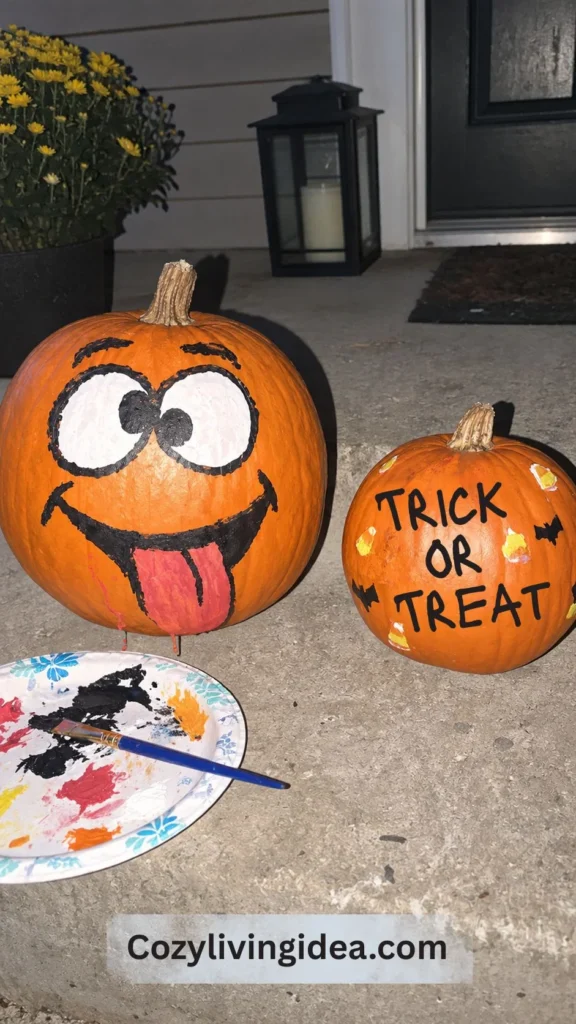
Funny pumpkin painting ideas are some of the easiest to personalize because the humor does most of the work — the painting itself can stay simple.
- ✓
Pun pumpkins. A short pun painted in bold lettering (“Sweet as Pie,” “I Yam What I Yam” on a sweet-potato-colored pumpkin) turns a plain pumpkin into a conversation piece for a party table.
- ✓
Exaggerated expressions. Instead of a classic jack-o’-lantern face, paint an over-the-top surprised, dizzy, or cross-eyed expression — it’s the same skill level as a simple face, just with more personality.
- ✓
Pumpkin “mugshot.” Paint a name and a fake booking number under a goofy expression, styled like a police lineup photo — a favorite for office Halloween contests.
- ✓
Food-face mashups. Paint the pumpkin to look like another food entirely — a giant orange, a basketball, or a jack-o’-lantern-turned-cheeseburger. The visual mismatch is the joke.
Scary Halloween Pumpkin Painting Ideas
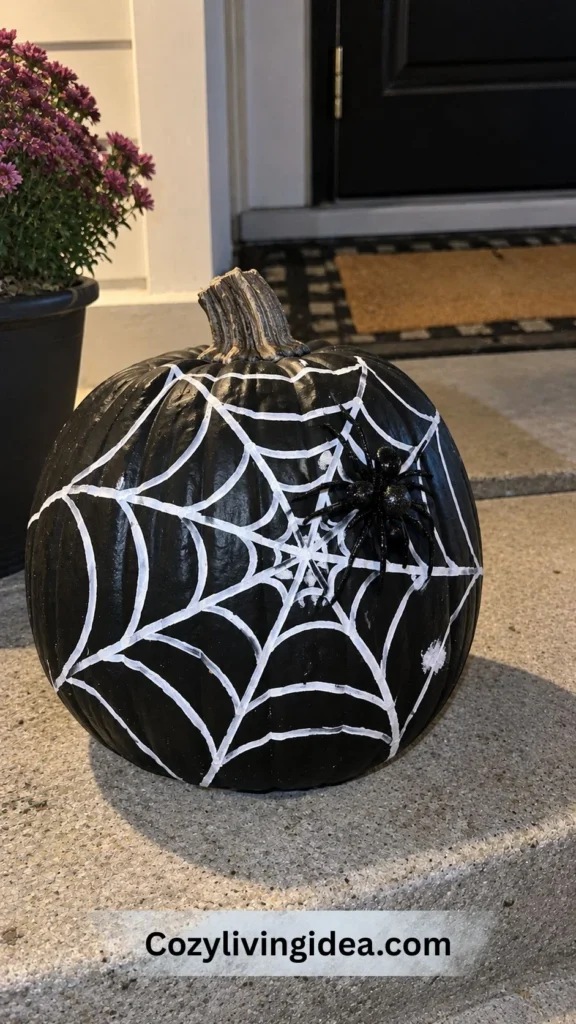
For the classic Halloween pumpkin painting ideas that lean into the spooky side of the season, contrast and shadow do more work than detail.
- ✓
Melting face. Paint a face and then drag black or dark green paint downward from the eyes and mouth while it’s still wet, so the features look like they’re dripping.
- ✓
Bloodshot eyeball pumpkin. A single oversized white eye with painted red veins and a black pupil, centered on the pumpkin — unsettling with very little actual technique required.
- ✓
Glowing jack-o’-lantern effect. Paint a classic face in black over an orange or yellow base, then add a thin white or yellow outline around the eyes and mouth to fake an internal glow, even without a candle inside.
- ✓
Spiderweb pumpkin. A black base coat with a fine white or silver web painted across it, topped with a single plastic spider glued on for dimension.
For anything with fine detail like a web or cracked-skin effect, use a paint pen instead of a brush — it gives you much more control on a curved surface.
Skull Pumpkin Painting Ideas
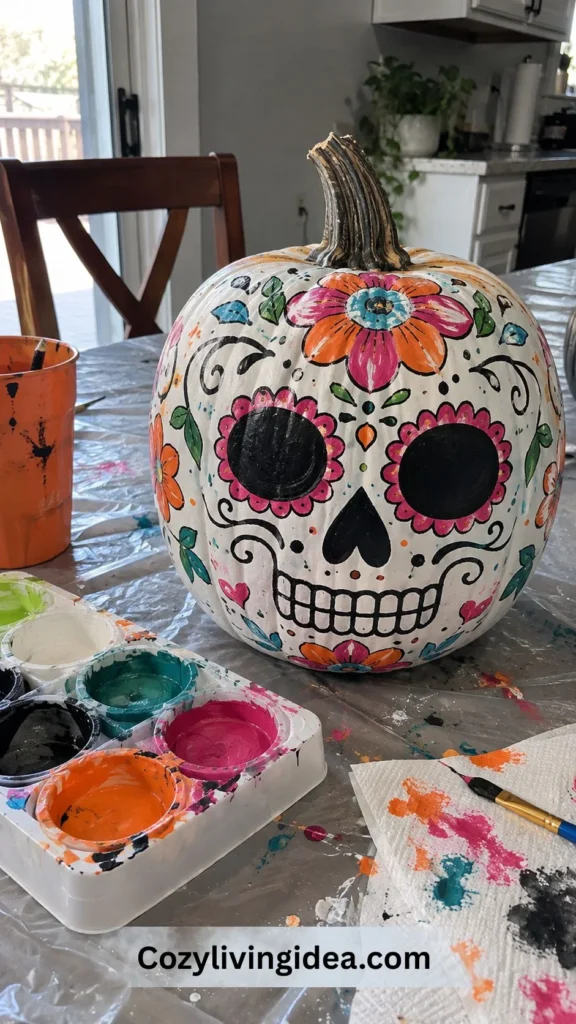
Skull pumpkin painting ideas sit at the crossover between scary and genuinely artistic, and they scale from beginner to advanced depending on how much shading you add.
- ✓
Simple skull outline. A white base coat with black paint for the eye sockets, nose cavity, and teeth lines — no shading needed, just clean black shapes on white.
- ✓
Sugar skull (calavera) style. Bright florals and geometric patterns painted over a white skull base, inspired by Día de los Muertos sugar skull art — one of the most searched skull pumpkin painting ideas because the color contrast photographs so well.
- ✓
Cracked skull effect. Add thin gray or black lines radiating across the white base to mimic real cracks in bone, then deepen a few with a touch of shadow for dimension.
- ✓
Glow-in-the-dark skull. Paint the base skull design in regular white and black, then trace the outlines with glow-in-the-dark paint so the design has a second look after dark.
Disney and Pop-Culture Pumpkin Painting Ideas
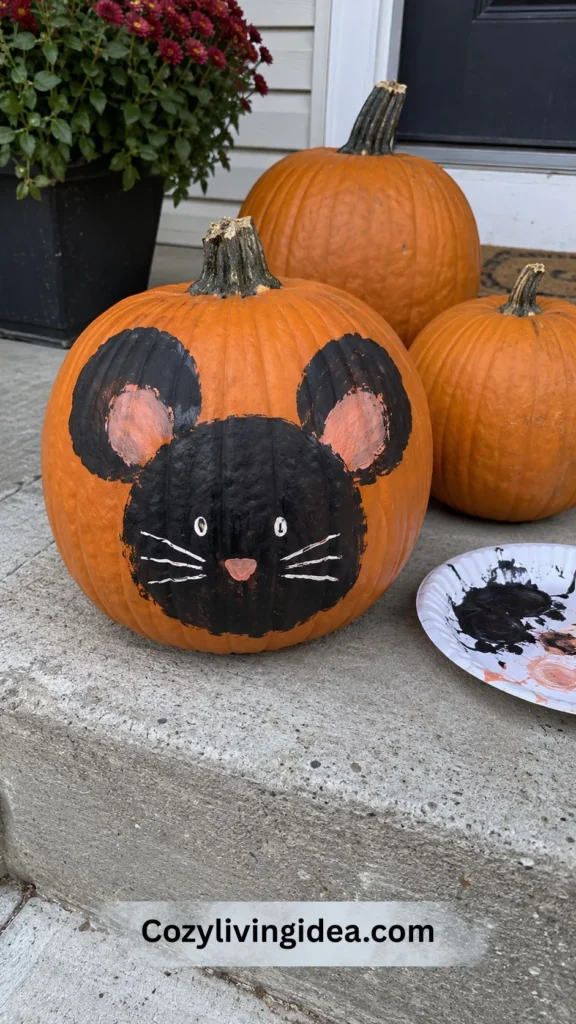
Disney pumpkin painting ideas and other character-based designs are popular because they turn a seasonal craft into something a fan actually wants to display all season.
- ✓
Mickey silhouette. Three painted black circles (one large “head,” two smaller “ears”) on an orange or white pumpkin — one of the simplest character pumpkin painting ideas there is, and instantly recognizable.
- ✓
Character face pumpkins. Simplified, iconic features from a favorite character — big round eyes, a signature color palette — painted directly onto the pumpkin rather than an exact portrait, which is both easier to pull off and more forgiving if it’s not perfect.
- ✓
Movie-poster color palettes. Instead of painting a character directly, pull the signature color scheme from a favorite film or show and apply it as a striped or color-blocked design. It nods to the theme without requiring any portrait-level painting skill.
- ✓
Glow effects for sci-fi themes. Paint pumpkins in dark tones with one or two neon accent details (a lightsaber-style line, a glowing symbol) using UV or glow paint for after-dark impact.
What’s Trending in 2026
Pinterest and home-décor searches this year are moving pumpkin painting further from the traditional orange-and-black palette. Deep teals, moody purples, and even matte black bases are showing up alongside classic autumn tones, which lets painted pumpkins work with a wider range of home color schemes instead of just “Halloween orange.”
There’s also a clear shift toward texture and dimension — adding fabric, dried florals, or raised paint details on top of a painted base — rather than keeping everything flat. If you want your pumpkin painting ideas to feel current rather than repeated from last year’s Pinterest board, leaning into an unexpected color and adding one textured element (a bit of moss, a fabric bow, a painted metallic accent) is the easiest way to do it.
Common Pumpkin Painting Mistakes (and Easy Fixes)
Even simple pumpkin painting ideas go wrong in the same handful of predictable ways, and almost all of them come down to skipping a prep step.
Using products that are not compatible with one another. Paint, primers and clear finishes vary, so check the labels before layering products. More coating is not automatically better, especially on a real pumpkin that will continue to age naturally.
Rushing between coats is a close second. Acrylic paint dries fast, but “dry to the touch” and “fully cured” aren’t the same thing — adding a detail layer too soon smears the base coat and muddies your colors. Give each layer the full drying window, even if that means spacing your painting session across a couple of hours instead of one sitting.
Painting on a dirty or wet pumpkin causes paint to bead up instead of laying flat, leaving a patchy, uneven finish. A quick wipe-down and a full overnight dry before you start prevents this outright.
And finally, going straight to detail work without a pencil sketch first is why so many faces and characters end up lopsided. A light pencil outline costs nothing, wipes off easily if you change your mind, and makes the actual painting step far less stressful.
Do It in a Weekend: A Simple Game Plan
Friday evening: Buy your pumpkins and supplies. Wipe pumpkins down and let them dry fully overnight — this step can’t be rushed, so starting the night before saves you from painting on a damp surface.
Saturday morning: Make sure the pumpkin is completely dry, then apply the first paint layer according to the product instructions.
Saturday afternoon: Paint your base color and let it fully dry. If you’re doing a multi-pumpkin display, this is the point to batch several at once, working on one while others dry.
Sunday: Add detail work, lettering, or shading once the base coat has cured overnight. Finish with your topcoat sealant and let the pumpkins dry undisturbed for several hours before moving them to their display spot.
Conclusion
The best pumpkin painting ideas aren’t necessarily the most complicated ones — they’re the ones matched to who’s painting, how much time you have, and how long you actually want the pumpkin to last. A five-minute solid color block and a carefully shaded sugar skull are both legitimate wins if they fit what you were going for. Start with the prep work, pick one idea from this list that matches your skill level, and the rest tends to come together on its own.
Frequently Asked Questions (FAQ)
Yes. A carved pumpkin typically starts collapsing within three to seven days, while a properly sealed painted pumpkin can hold its look for months, making it a better option if you want your Halloween pumpkin painting ideas to double as fall décor through Thanksgiving.
Acrylic craft paint is the most reliable all-around choice — it’s non-toxic, dries in about 15 minutes per coat, and holds up well once sealed. Tempera paint is fine for a quick kids’ project but won’t last as long outdoors.
Not always. A compatible clear topcoat can help protect some painted designs from scuffs or light moisture, especially if the pumpkin will be displayed outside, but follow the paint and topcoat manufacturer’s instructions. It will not prevent a real pumpkin from eventually deteriorating.
Both work. Real pumpkins give you a more authentic look and are usually cheaper, but they have a shorter overall lifespan even when sealed. Artificial pumpkins are reusable year after year, which is worth it if you’re investing time in a detailed design.
Solid color blocks, painted stripes using painter’s tape, and polka dots made by stamping the end of a pencil eraser into paint are the most forgiving starting points — no freehand drawing skill required.