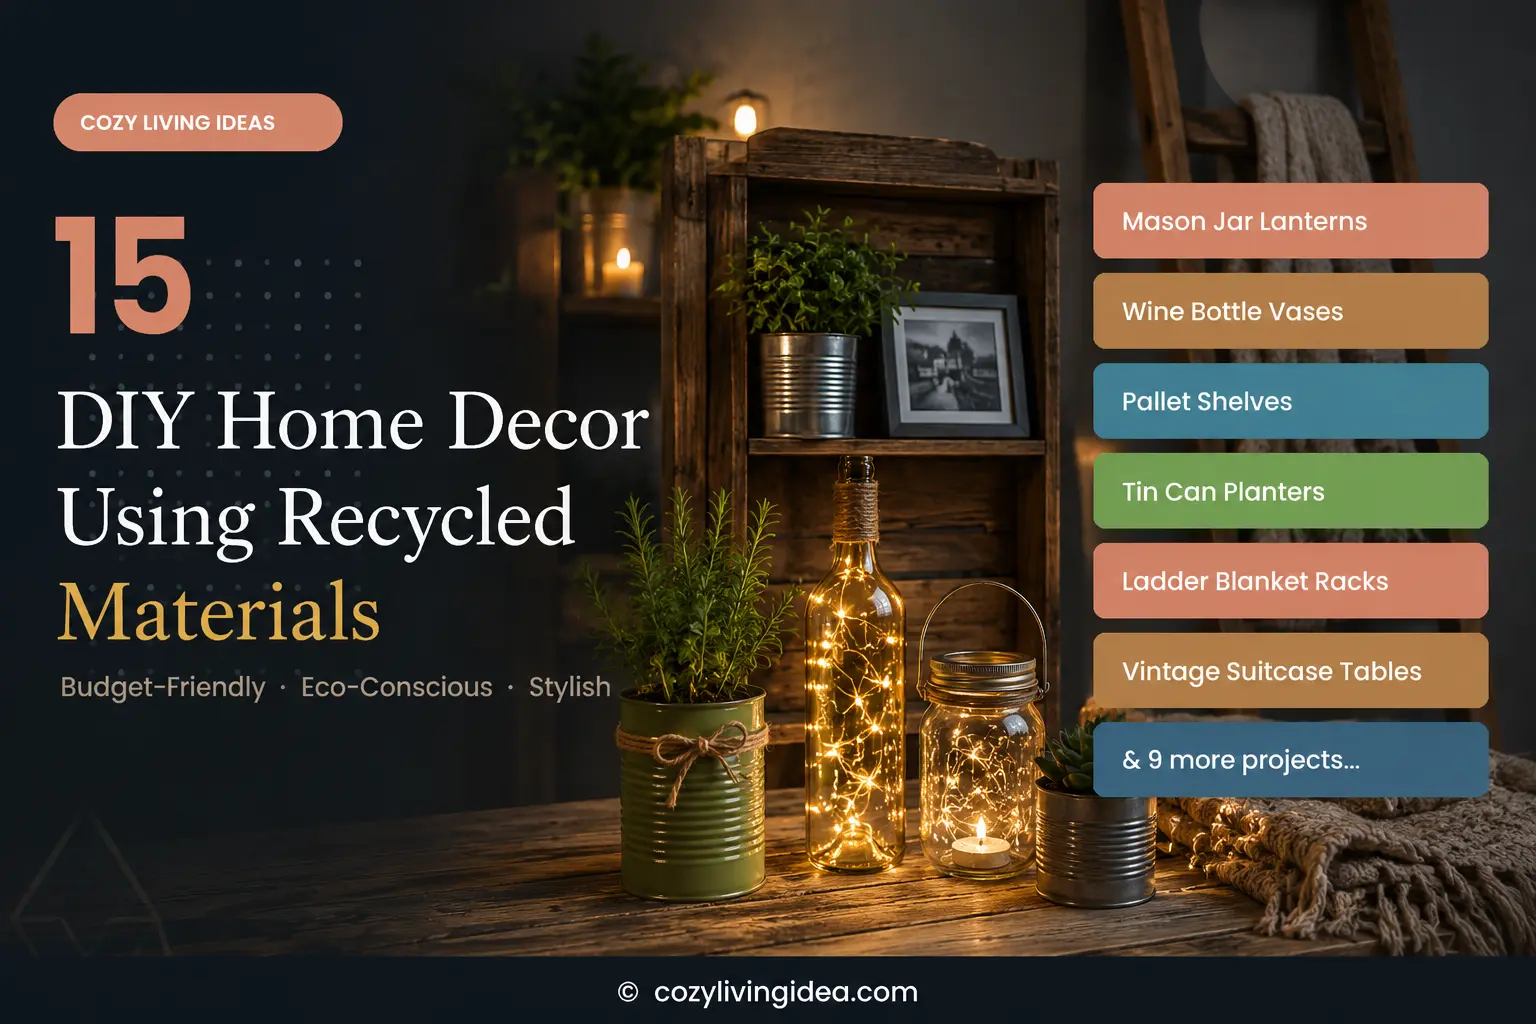
DIY Home Decor Using Recycled Materials : 15 Budget-Friendly Ideas
My neighbor used to put a stack of wine bottles by the curb every other week, destined for the recycling truck. One Saturday I asked if I could take a few before pickup, and she looked at me like I’d asked to borrow her car keys. Three coats of paint and a handful of dried eucalyptus later, those bottles were sitting on my mantel, and she was the one asking where I bought them.
That’s the moment I really understood the appeal of decorating with recycled materials. It’s not about making your house look like a recycling bin exploded in it. It’s about looking at ordinary objects — jars, bottles, old wood, worn fabric — and seeing what they could become with a little intention.
This Cozy Living Idea guide walks through 15 projects that use materials most households already have lying around, plus the design thinking behind why they work. Because a recycled piece only looks good in your home if it follows the same rules of color, texture, and proportion that any other decor item does.
Why Use Recycled Materials for DIY Home Decor?
Reusing materials can make sense when you already have an object that is structurally sound and suitable for another purpose. It can reduce the amount of new decor you need to buy, extend the useful life of existing materials and give you more control over color, size and finish.
The biggest advantage is flexibility: a jar can become lighting or storage, fabric scraps can become artwork, and suitable reclaimed wood can become a shelf or sign. But reuse only makes sense when the material is safe, clean and appropriate for the new job—something that matters especially with old painted wood, pallets, glass and load-bearing projects.
Benefits of DIY Home Decor Using Recycled Materials
- ✓
Cost savings Most of these projects cost under $20, and several cost nothing beyond what you already own.
- ✓
Environmental impact Many jar, bottle, or board you repurpose is one less item in a landfill and one less new product manufactured to replace it.
- ✓
Creative expression You’re not selecting from a catalog of options someone else designed. You’re making the design choices yourself.
- ✓
Personalized interiors A home built partly from repurposed materials tends to have more visual texture and story than one furnished entirely from a single retailer.
Before You Use Salvaged Materials
Check where a recycled material came from before cutting, sanding or bringing it indoors. Avoid wood that is visibly contaminated, oily, moldy, pest-damaged or of unknown chemical exposure. Old painted wood and vintage window frames deserve extra caution: if the age or coating is unknown, don’t sand or scrape the finish until you’ve considered whether lead-based paint could be present.
EPA warns that disturbing lead-based paint can create hazardous dust, particularly in older housing and painted building components. Follow appropriate lead-safe guidance or use a different material when the history is uncertain.
15 Beautiful DIY Home Decor Projects Using Recycled Materials
1. Mason Jar Lanterns
Materials: glass mason jars, wire for handles, battery tea lights or twine, optional sand or pebbles Estimated cost: $5–10 Difficulty: Easy
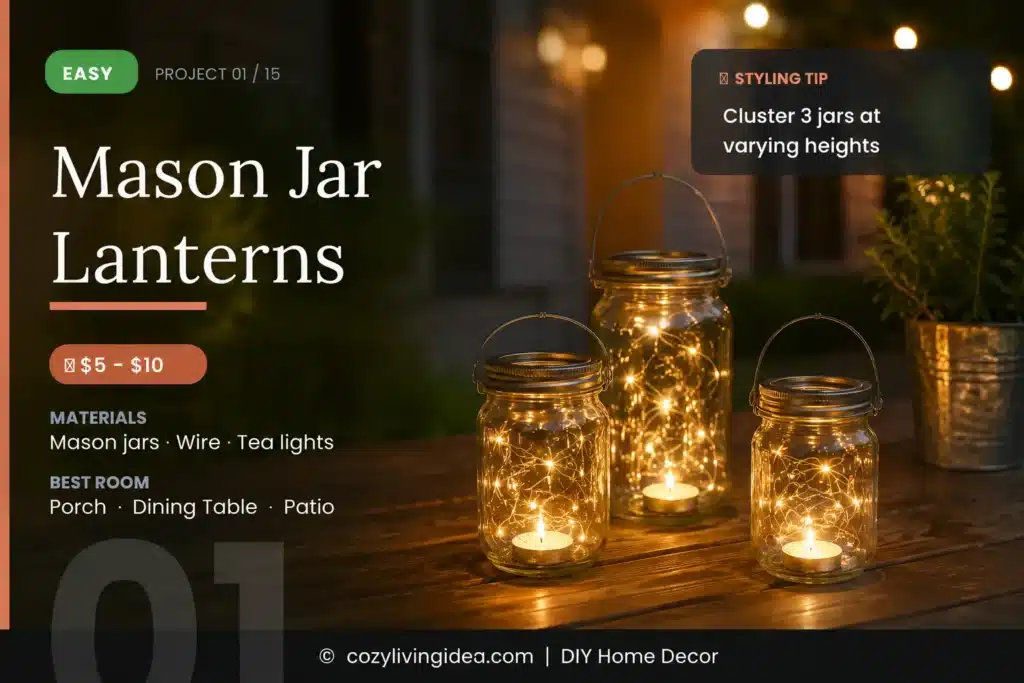
Wrap wire around the jar’s neck and twist it into a handle, then drop in a flame less candle. Glass diffuses light into a soft, even glow instead of one harsh point — that’s the entire reason these feel cozy instead of like a backyard work light.
Styling tip: Cluster three jars at varying heights rather than lining them up evenly — uneven groupings feel intentional, even ones feel accidental. Best placement: Porches, dining tables, outdoor patios. Common mistake: Leftover label residue. Soak jars in hot water with baking soda first; trying to wrap wire around a sticky jar is a frustrating way to spend a Saturday.
2. Wine Bottle Vases
Materials: empty wine bottles, label-removal solution, optional paint or twine Estimated cost: $0–8 Difficulty: Easy
Soak off the labels, then either leave the glass bare for a minimalist look or wrap the base in jute twine for warmth. Bottles have a narrow neck that holds a single stem upright without flopping — something a wide-mouth vase rarely manages with delicate flowers.
Styling tip: Group bottles of different heights together rather than using just one — it mimics the look of a proper floral arrangement. Best placement: Kitchen windowsills, entryway consoles. Common mistake: Painting over a label you haven’t fully soaked off. Take the extra ten minutes; the residue shows through as texture once dry.
3. Wooden Pallet Shelves
Materials: one wood pallet, sandpaper, wood stain or paint, brackets Estimated cost: $0–15 Difficulty: Moderate
Use only clean, dry wood with a known or acceptable history, and discard pieces that are cracked, contaminated or pest-damaged. Pallet markings can identify treatments such as heat treatment (HT) or methyl-bromide fumigation (MB), but the pallet’s previous cargo and exposure history still matter when deciding whether to bring the wood indoors.
Break the pallet down into individual planks, sand off splinters, and mount them with brackets and wall fasteners appropriate to the wall type and expected load.. The visible wood grain and slight imperfections give these a reclaimed-wood look that usually costs far more when purchased pre-made.
Styling tip: Stain rather than paint if your room already has warm wood tones elsewhere — it ties the new piece to the existing palette instead of competing with it. Best placement: Living room walls, kitchen open shelving. Common mistake:Skipping the sanding step. Pallet wood is rough enough to snag clothing and skin if left untreated.
4. Tin Can Planters
Materials: clean tin cans, paint or fabric, drill for drainage holes Estimated cost: $0–5 Difficulty: Easy
Drill a few small drainage holes in the bottom, then paint the exterior or wrap it in fabric. Tin holds paint beautifully and gives a cleaner edge than you’d get from terracotta, which makes these surprisingly good for a modern, graphic look.
Styling tip: Match the can color to your cabinet hardware or faucet finish for a pulled-together kitchen windowsill. Best placement: Kitchen windowsills, herb gardens, bathroom shelves. Common mistake: No drainage holes. Without them, water pools at the bottom and roots rot within a few weeks — drill before you plant, not after.
5. Old Ladder Blanket Racks
Materials: a wooden ladder, sandpaper, optional stain Estimated cost: $0–10 Difficulty: Easy
Use a decorative ladder that is structurally sound and position it where it cannot slide into a walking route. In homes with children or pets—or anywhere tipping is realistic—secure it appropriately rather than relying only on the wall lean. Treat it as storage/display, not as a climbable ladder.
Styling tip: Layer two or three blankets of different textures rather than one — it reads as styled, not just stored. Best placement: Living rooms, bedrooms, bathrooms. Common mistake: Overloading it. Two or three items per rung looks curated; five looks cluttered.
6. Vintage Suitcase Side Tables
Materials: a sturdy vintage suitcase, short furniture legs, screws Estimated cost: $0–20 Difficulty: Moderate
A sturdy vintage suitcase can become hidden storage at side-table height, but don’t assume the shell itself can safely support furniture legs. The simplest approach is to place it on a stable, appropriately sized table base or luggage-style stand. If you’re building a permanent legged base, the attachment needs adequate internal reinforcement and hardware suitable for the expected load.
Styling tip: Choose a suitcase with some visible wear — scuffs and stickers add character rather than detracting from it. Best placement: Beside a sofa or armchair, in an entryway. Common mistake: A weak or warped base. Press down firmly on the suitcase before buying it secondhand; it needs to support real weight once the legs go on.
7. Recycled Glass Candle Holders
Materials: glass jars or bottles cut down, sandpaper, candles Estimated cost: $0–5 Difficulty: Moderate
Score and break a bottle at the desired height (or use a glass-cutting kit), then sand the rim smooth. Thick glass catches and refracts candlelight far better than the thin commercial holders most stores sell.
Styling tip: Vary the heights when grouping several together to create a more dynamic centerpiece. Best placement: Dining tables, bathroom counters. Common mistake: A rim left unhanded. It’s both sharp to the touch and visibly unfinished — five minutes with fine-grit sandpaper fixes both problems.
8. Fabric Scrap Wall Art
Materials: fabric scraps, an embroidery hoop or canvas, glue Estimated cost: $0–10 Difficulty: Easy
Layer fabric scraps onto a hoop or canvas in a deliberate pattern — geometric, abstract, or even a simple ombré gradient. Fabric introduces a soft texture that balances out the hard surfaces (wood floors, glass, metal) most rooms already have plenty of.
Styling tip: Stick to two or three coordinating colors max. Too many competing patterns reads as scrap fabric rather than art. Best placement: Above a bed, in a hallway gallery wall. Common mistake: Leaving frayed edges untreated. A quick line of fray-check or a folded hem before gluing is the difference between intentional texture and an unfinished edge.
9. Up cycled Picture Frames
Materials: old picture frames, sandpaper, paint or decoupage paper Estimated cost: $0–8 Difficulty: Easy
Strip outdated frames down and refinish them with paint, gold leaf, or decoupage paper. A matched store-bought set looks flat next to a gallery wall built from mismatched original shapes pulled into one cohesive color story.
Styling tip: Refinish several frames in the same color family but different shapes — it reads as curated rather than mismatched. Best placement: Gallery walls, mantels, bookshelves. Common mistake: Painting straight over a glossy finish with no primer. The paint chips within weeks; a quick scuff-sand and a primer coat fixes that permanently.
10. Newspaper Basket Organizers
Materials: old newspapers, glue, varnish Estimated cost: $0–5 Difficulty: Moderate
Roll newspaper sheets into tight tubes and weave them into a basket shape, then seal with varnish for durability. The varnish gives the surface a woven-rattan look that holds up surprisingly well for catchall storage.
Styling tip: Use newsprint with visible text or color print rather than blank paper — the texture reads more intentional. Best placement: Entryway catchalls, bathroom storage, office supply bins. Common mistake: Stopping before the varnish coat. Skip it and the basket stays fragile, unraveling at the edges within a month of regular use.
11. Plastic Bottle Vertical Gardens
Materials: plastic bottles, paint, wall mounting hardware, soil Estimated cost: $0–10 Difficulty: Moderate
Cut bottles horizontally, paint the exterior, and mount them in a vertical row to hold small plants or herbs. This is one of the few projects on this list that actually solves a space problem — it puts greenery on a wall instead of eating floor space.
Styling tip: Stick to one paint color across all bottles for a clean, repeated pattern rather than a patchwork look. Best placement: Small kitchens, balconies, apartment walls. Common mistake: No drainage cuts at the base of each bottle. Water pools instead of running off, and roots rot before the plant has a chance.
12. Old Window Frame Mirrors
Materials: an old window frame, mirror glass cut to size, adhesive Estimated cost: $10–20 Difficulty: Moderate
Use an old window frame only if it is structurally sound and the existing finish is safe to work with. If the frame is vintage or its paint history is unknown, don’t sand, scrape or intentionally distress the coating until you’ve ruled out a lead-paint concern or followed appropriate lead-safe practices.
Have mirror glass professionally cut to fit the frame, then install it using a mounting method appropriate to the mirror, frame and final hanging location. Because the finished piece can become heavy, use wall hardware rated for the total load.
Styling tip: Preserve an aged finish only when the coating is stable and safe; otherwise choose a newer unfinished frame and create the look with an appropriate finish. Best placement: Entryways, above console tables. Common mistake: Cutting the mirror glass too thin. It flexes and cracks during mounting — ask the hardware store for their standard mirror-grade thickness, not the cheapest option.
13. Reclaimed Wood Signs
Materials: reclaimed wood boards, paint or wood-burning tool, hardware Estimated cost: $0–10 Difficulty: Easy to Moderate
Sand a board lightly, then paint or burn on a simple word, phrase, or house number. Keeping the wood’s natural grain visible around the lettering is what separates this from a generic printed sign — it shows the material’s history.
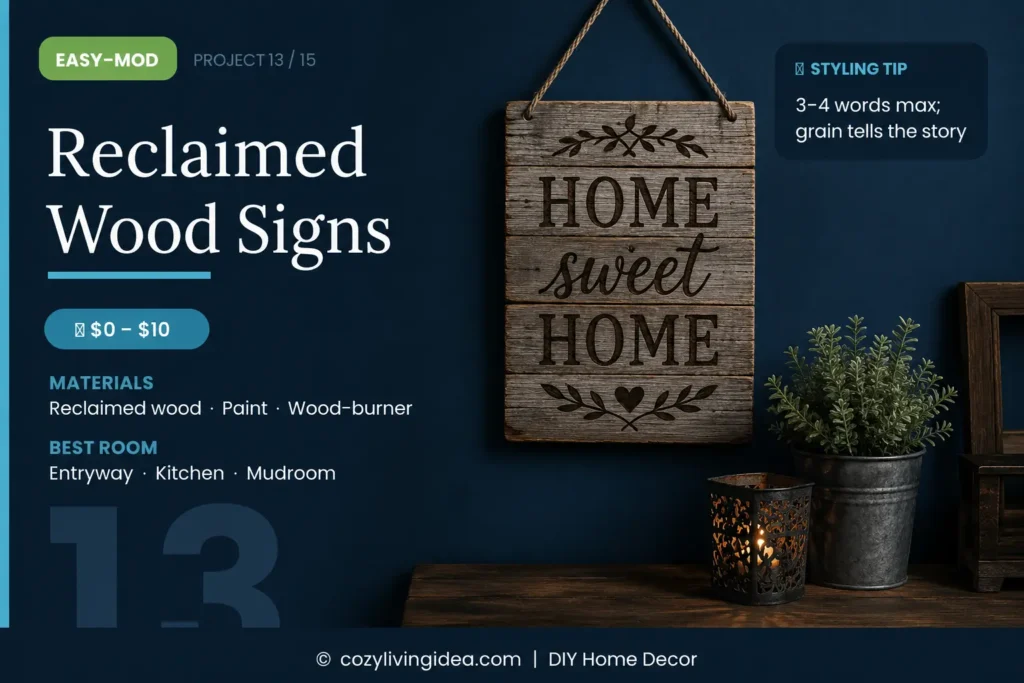
Styling tip: Choose short phrases over long ones. Three or four words read as design; a full sentence reads as a craft fair purchase. Best placement: Entryways, kitchens, mudrooms. Common mistake: Over-sanding to the point the wood looks new, which defeats the reclaimed aesthetic entirely.
14. Denim Storage Baskets
Materials: old jeans, fabric glue or sewing machine, cardboard or basket frame Estimated cost: $0–5 Difficulty: Moderate
Cut denim panels to wrap around a basket frame or stiff cardboard form, then secure with glue or stitching. Denim’s structure holds its shape well, and the fading and stitching details on old jeans add texture that plain fabric can’t replicate.
Styling tip: Use the back pockets as functional exterior storage for small items like remotes or mail. Best placement: Bedrooms, closets, living rooms. Common mistake: Thin or stretchy denim. It sags and loses its shape within weeks — old jeans (real cotton denim, not a stretch-blend) hold structure far longer.
15. Cork Board Memo Walls
Materials: wine corks, a backing board, glue Estimated cost: $0–10 Difficulty: Easy
Glue corks in a tight pattern onto a backing board to create a pinnable memo surface. The irregular shapes and varying shades of natural cork create organic texture that a uniform store-bought corkboard doesn’t have.
Styling tip: Mix cork colors from different wine brands for subtle variation rather than using all-matching corks. Best placement: Home offices, kitchens, kids’ rooms. Common mistake: Overdoing the glue. Excess seeps out between corks and dulls the natural texture — a thin, even layer holds just as well and stays invisible.
Designer Tips for Making Up cycled Decor Look Expensive
The difference between “upcycled” and “thrown together” usually comes down to a few details.
Finish matters more than the base material. A wine bottle vase with a sloppy paint job looks cheap regardless of how good the bottle’s shape is. The same bottle with a clean, even finish looks intentional.
Repetition reads as design. One painted tin can looks like a craft project. Five matching painted tin cans in a row look like a styled vignette. Repeating a material, color, or shape signals that a choice was made rather than that an object was simply reused.
Pair rough materials with refined ones. A reclaimed wood shelf next to a smooth ceramic vase looks more expensive than that same shelf surrounded by other rough, raw materials. Contrast does a lot of the visual work.
Color and Texture Principles for Sustainable Decorating
Recycled materials tend to come in a wider range of textures than new decor — rough wood, smooth glass, woven fabric, aged metal — and that variety is an asset if you manage the color palette carefully.
Pick a base palette of two to three colors and let texture provide the variety instead of color. A room with reclaimed wood, clear glass, and cream fabric feels cohesive even though the materials are completely different, because the color story stays consistent.
Warm woods (pallet shelves, ladders, frames) pair naturally with warm metals like brass or copper hardware. Cool materials like clear glass and bare metal pair well with cooler grays and whites. Mixing warm and cool without a clear ratio is usually what makes a space feel unintentional rather than eclectic.
Balance is also about proportion, not just color. A large rough-textured piece, like a pallet shelf, needs smaller smooth-textured pieces nearby (glass vases, ceramic items) to keep the eye moving instead of getting stuck on one heavy texture.
Budget-Friendly Styling Ideas
- ✓
Buy paint in sample sizes instead of full cans — most of these projects need far less than a quart.
- ✓
Source secondhand materials selectively. Thrift stores, reuse centers, estate sales and items offered directly by their owner usually give you more opportunity to inspect condition and ask about history. For curbside items, follow local rules and avoid anything with signs of pests, moisture damage, contamination or an unknown finish you would need to sand.
- ✓
Ask local restaurants or wine bars for empty bottles; many are happy to set them aside.
- ✓
Shop your own garage or basement before buying anything new. Old hardware, leftover paint, and forgotten fabric scraps solve more projects than people expect.
- ✓
Buy mirror glass cut-to-size from a hardware store rather than purchasing a pre-made mirror; it’s almost always cheaper for an irregular frame shape.
If your goal is mainly to reduce decorating costs rather than specifically reuse materials, our Budget Home Decor Ideas guide covers where to spend, where to save and when DIY actually makes financial sense.
Common DIY Mistakes to Avoid
Sanding, cleaning, and priming aren’t optional steps — they’re the difference between a finish that lasts and one that chips within a month.
Even great individual projects can overwhelm a room if there are too many competing for attention.
A tiny tin can planter looks lost on a large kitchen island; a giant pallet shelf can overwhelm a small bedroom wall.
Most failures in these projects come from handling or styling a piece before it’s fully cured.
A beautiful denim basket that can’t actually hold weight isn’t decor, it’s a liability.
Seasonal Recycled Decor Ideas
Fill wine bottle vases with fresh-cut branches or early blooms.
Use tin can planters for herbs on a sunny windowsill or patio.
Stack mason jar lanterns with battery candles along an entryway for early sunsets.
Wrap a reclaimed wood sign in string lights for a low-cost holiday accent that works well past the season too.
Final Thoughts
Every item on this list started as something headed for a recycling bin or a landfill. What changes that trajectory isn’t a special skill or an expensive tool kit — it’s just a willingness to look at an old bottle or a worn-out ladder and ask what else it could be.
The pieces that come out of that process tend to carry more personality than anything bought off a shelf, simply because no two people make the exact same choices with the exact same materials. That’s really the whole appeal: a home that looks like it belongs to you, built partly from things other people were ready to throw away.
Frequently Asked Questions
In almost every case, yes. Most of these projects cost under $20 total, and several use materials you already have on hand — a fraction of what a comparable piece runs at a home goods store.
No. The majority of these projects need only basic supplies: sandpaper, paint, glue, and scissors. A few, like the window frame mirror or glass candle holders, benefit from specialty tools, but none are required to get started with the easier projects on this list.
Limit yourself to a consistent color palette and avoid mixing more than two or three recycled projects in the same sightline. Group similar materials together rather than scattering them randomly around a room.
Most of them are. Floating shelves and mirrors may require drilling, so check with your landlord first, but freestanding pieces like ladder racks, vases, and side tables need no permanent installation at all.
Mason jars and wine bottles are the most forgiving. They’re inexpensive to source, hard to ruin, and the techniques (painting, wrapping, label removal) transfer directly to other projects on this list.